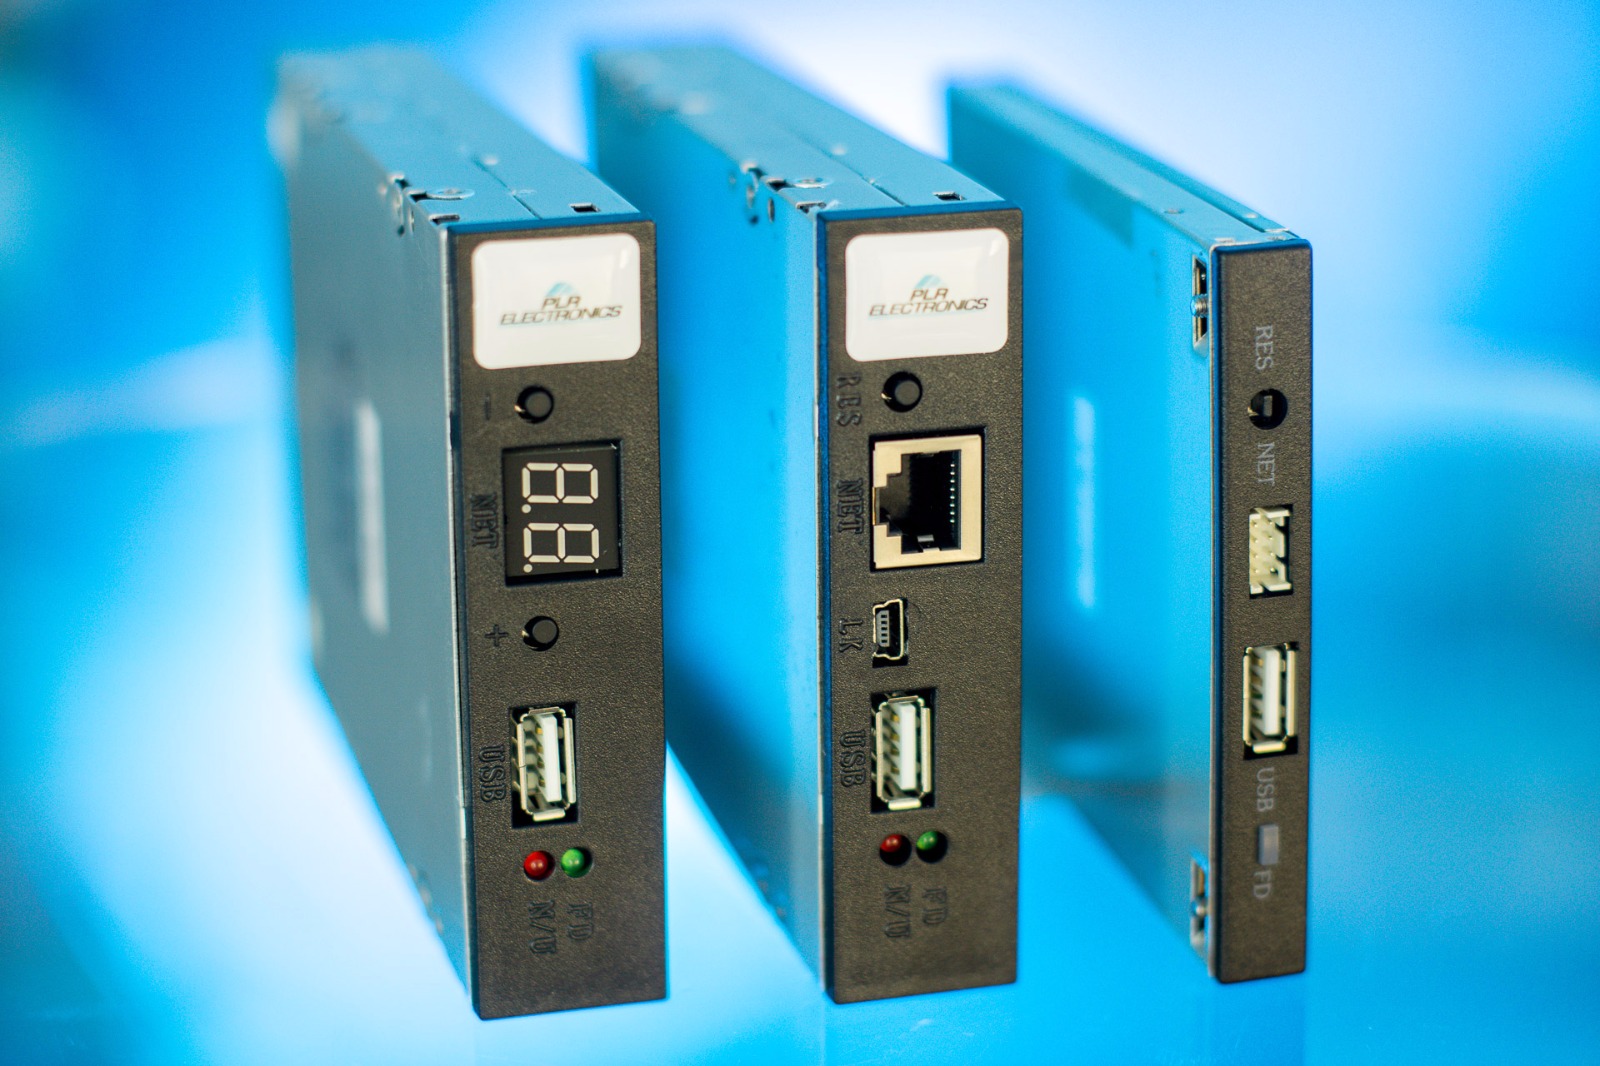
Floppy Drive Upgrade to USB Drive – Standard 3.5 inch
A very Easy Floppy to USB Upgrade
Eliminate your need for 3 ½ floppies with this 3 ½ floppy-to-USB disk drive!
Our 3 ½ floppy disk drive to USB flash drive reader converter will replace your existing floppy drive with an independently operated USB flash drive reader. No additional changes to your system are needed besides removing the existing drive and replacing it with this drive.
Plug and Play. Easy installation and no system configuration or debugging required.
CLICK HERE TO BUY NOW
If you do not know what type to order from the Upgrade Chart, then please review our ‘Floppy To USB Floppy drive code guide’ which will give you the USB code # to order.
Product introduction
Undoubtedly, the floppy drive will soon be eliminated due to its small storage space, short
lifetime and fragility along with the fast development and popularization of USB Flash drives For most
industrial computerized devices which are still equipped with floppy drives as the only or main data
imputing device, the most effective method to continue its life span is to convert it to a USB Flash drive
reader or use network data transferring. PLRElectronics brings you a USB Simulating Floppy Drive which
offers a solution to companies with equipment needing the floppy drive upgrade. Just Install a SFDR to
replace the original floppy drive in its existing location using the systems original hardware. You will
then be able to store and transfer data using a USB Flash drive or directly by network.
1.1 About the SFDR
PLRElectronics SFDR is designed for replacing original floppy drives in computers and most all
kinds of all devices which use floppies, while still using the original wires and space. The device is easy
to install and does not require any modifications or changes on your existing device. While using USB
flash drive as the data transfer device and storage media, you can take advantage of mass storage, easy
reading and writing operations, permanent data storage, and avoiding using easily damageable floppy
drives and floppy disks.
There are 3 generations of SFDR: SFDR-I, SFDR-II, and SFDR-III.
The advantage of the SFDR-II is that it is adaptable to a file chooser while will allow more files to
be stored onto the USB flash drive. It will also allow files to be saved into multiple directories
which can be selected with the file chooser device
The SFDR-III is a half dimension height for some special model machine.
1.2 Function & Features
1.) Powerful: It is designed to replace traditional floppy drive equipped on all types of device,
enabling the transfer of data from a USB flash drive or via a network system to ensure a more
convenient and efficient data storage and transferring drive
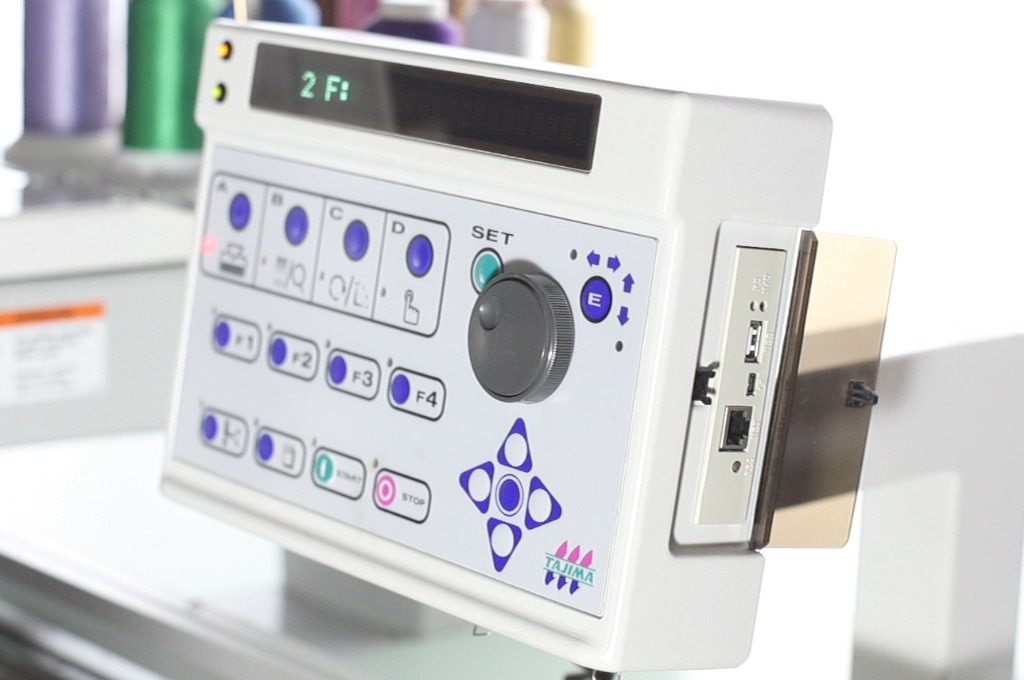
2.) Application: Suitable for all kinds of devices which are equipped with floppy drives. For
example: computers, digital machinery tools, CNC, embroidery machine, computerized knitting
machines, quilting machines, test equipment, sound equipment and instruments, copiers, etc.
3.) Simple installation: Install the SFDR in the existing location of the original floppy drive. It’s
simple, easy, and fast.
4.) Convenience: Insert the USB flash drive into the SFDR to read data to the device through the
original floppy drive connection cable.
5.) Advanced management: Both USB and network port are available for stand alone or multidevice
network data transferring. The choice of USB or Network provides the best quality price product
for your future upgrades.
6.) Higher efficiency and Reliability: The SFDR works stable with higher efficiency and it’s safer and more
reliable than a floppy drive. It also helps avoid lost data due to damaged floppy disks, reduces
production cost and increase production efficiency
To install your 3 ½ floppy to USB Flash Reader, with the device powered off and unplugged,
simply remove the existing drive from its existing cradle. Disconnect existing ribbon cable and power
cable from existing drive. Reattach existing power cable and ribbon cable to the USB Flash Reader.
Insert USB Flash Reader into existing 3 ½ floppy cradle and reattach all hardware. You device is now
ready to use. If any existing configuration is required on your system, please use all standard settings
for a 3 ½ floppy drive as detailed in your devices user manual.
Usage Instructions
Description
1.) SFDR-I: Uses the USB flash drive storage capacity as per the equipment’s identifiable floppy drive
capacity: 1.44M/1.2M/720KB. Capability of being used as the system startup disk. USB flash drive plugand-play.
Uses the same functions of reading floppy disks from devices standard control system to read
the USB flash drive.
2.) SFDR-II (SFDR-I + File Chooser) Using the file chooser device in conjunction with the SFDR-I will give
the ability to choose any file folder inside the USB flash drive, the maximum size of each file folder is
equal to the original floppy disks storage capacity. The capacity of each file folder cannot exceed the
original storage size of the floppy drive which is identified by the equipment’s computer system (1.44MB
/ 1.2MB / 720KB). Files beyond this size cannot be identified by the SFDR. The function of the chooser is
to be able to choose any file folders inside the USB flash drive without limitation on the total file size.
3.) The letter on SFDR type label represents the different floppy drive model. We request that you
inform us on the original floppy drive type when placing an order to avoid mismatching the drive type.
For example:
SFDR-I-I————–Universal IBM type
SFDR-I-A————-YD-6639D, TEAC235FG
SFDR-I-B————-NEC 1137C
SFDR-I-C————-YD-6037D
3.1 Reading, Writing, and Formatting functions of the SFDR
Reading Function of SFDR:
1.) FAT (FAT, FAT32, OR FAT16) format is recommended for use with the USB flash drive. If there are
any errors when using the USB flash drive on the SFDR for the first time, it is suggested to format it on a
separate computer system and set file system parameter into FAT (FAT, FAT32, AND FAT16).
2.) Insert the USB flash drive into the SFDR’s USB port. Files inside the USB stick are loaded into the SFDR
automatically when read light of the SFDR is on. Do not remove the USB flash drive during the loading
process.
3.) You may remove the USB flash drive once the read light is off. The SFDR will retain the loaded files
inside its memory even once the drive is removed.
Writing Function of SFDR:
1.) To write any files from the device to the SFDR’s memory, you may use the standard copy, remove,
edit, save, delete, etc functions as supported by your device’s operating system.
2.) After the data is written to the SFDR, the green light of the SFDR will go off. The read light will also
turn off in the case that the USB flash drive is not inserted into SFDR. Otherwise, the read light will
remain on until the writing process is completed.
3.) The SFDR distinguishes files which have been written into its memory as per the defined memory
capacity of the floppy drive setting on the device. When more files are needed be sure the size of each
file combined isn’t bigger than the total memory capacity of floppy drive setting. In the event that the
total size of those files is bigger than the floppy drive’s set size, memory space should be released by
deleting existing files.
Note:
1.) When writing files to the USB flash drive, file with the same name will replace the previous one.
P a g e | 9 3 ½ Floppy to USB Flash Reader Manual – PLRElectronics
2.) The SFDR will start writing files to USB flash drive 5 seconds after the green light is off. During the
writing process errors such as “Floppy drive is not ready” may appear. In this event just wait until the
read light of the SFDR is off and continue operating the device once the error disappears.
3.) Do not remove the USB flash drive during the writing process in order to avoid damaging the USB file
system or the USB flash drive.
Formatting Function:
1.) Formatting the SFDR on the device will set the file system parameter to the FAT format, all other
parameter are set default by the system.
2.) When formatting the SFDR, all files inside the USB flash drive will be deleted.
3.2 Making a DOS startup disk with the SFDR
Application:
DOS startup disk can be made when it is required to startup or boot the computer controlled
equipment, with a disk. The process is as follows:
1.) Format the USB flash drive to the FAT format.
2.) Connect the SFDR to a computer which is able to format a startup floppy disk.
3.) Insert the USB flash drive into the SFDR, and format the SFDR as a startup disk.
4.) After formatting, wait until the files of the SFDR are written onto USB flash drive.
5.) Once the Read light of the SFDR is off, the files have been written into USB disk which is now able to
work as a startup disk.
6.) You may now install the SFDR in to the device
Note:
1.) The startup USB flash disk can only be used for startup with the SFDR.
2.) If here are any other files to be attached with the startup disk, copy them to the USB flash drive
directly. The total size of the file shouldn’t be any bigger than the specified size of a floppy disk.
3.) Insert the startup USB flash drive into SFDR as a startup disk when booting the device.
3.3 Installing programs by a SFDR
1.) Format the USB flash drive and set the file system parameter to FAT (FAT, FAT32, FAT16).
2.) Copy all of the files from the floppy disk onto the root of the USB flash drive. If there is only one disk
of the installation, insert the USB flash drive into SFDR and start the installation process.
3.) The SFDR file chooser is required in the event that there are more than one installation dis. The
process is as follows:
a.) Create folders under the root of USB flash drive as per the number of installation floppy disk.
It is suggested to use the same folder names as per the original installation disks.
b.) Copy all files of the installation disks into the USB flash drive’s folder accordingly; hidden files
should also be copied if applicable.
c.) Insert the USB flash drive into the SFDR and choose the first installation disk folder using the
chooser device. Copy all of files onto the SFDR.
d.) When prompted for the next disk of the installation, use the chooser to select the next
directory corresponding to the next disk.
e.) Repeat the process until installation is done.
Note:
1.) Do not copy any other folders or files onto the USB flash driver if they are not necessary for the
installation process.
2.) Be sure to check if there are any hidden files and copy them onto USB flash drive as well.


